Showing posts with label cupcake topper. Show all posts

Thursday, 6 June 2013

Sail away...

SP033 Nautical etsy 1 printable scrapbooking papers boatsNautical things seem to be very popular at the moment so I’m hoping I’ve picked a good theme for my latest collection of designs!  So far I have made a set of printable scrapbooking papers, cupcake toppers and some digital stamps – I’m still working on other designs so there will be more to come!
The boats, anchors and other illustrations in the paper set were drawn in pencil and watercolours before I scanned them and finished the patterns digitally.
SP033 Nautical etsy 4 printable scrapbooking papers boatsThe cupcake topper set (which could also be used as tags or in scrapbooking / card making projects) contains 3 different boats and 3 other designs which can be personalised with your own choice of text.  This example is for a birthday party, but I can do other messages for different occasions too.
CT015 Nautical cupcake toppers etsy 1This set of digital stamps is something slightly new for me; I’ve made printable collage sheets before but this is my first set of digital stamps / clip art.  There are 6 designs in the set – each comes as a jpg file with a white background and as a png file with a transparent background so they can be printed and coloured by hand or coloured digitally and used in digital scrapbooks.
DS001 nautical digital stamps boats anchor etsy 1If you like these designs you might like to see some of the other Nautical things I’ve been pinning to one of my Pinterest boards… http://pinterest.com/hazelcreations/nautical/

Friday, 22 February 2013

Filling in the gaps…

I’ve been working on filling in some of the gaps in my collection of printable designs, so have quite a lot of new things I am adding to my shop!  Here’s a quick round up – I’m still working on printables using the new Butterflies theme as well as going back to older themes and adding new products to those…2013Feb22 printable butterflies scrapbooking paper and buntingThe new butterflies theme now has a set of 12 inch printable scrapbooking papers, some ‘Happy Birthday’ bunting…2013Feb22 printable cupcake toppers butterflies and cakes…and cupcake toppers customised with your own choice of text.  Going back to some of my older designs I’ve made new sets of cupcake toppers with a cakes theme…2013Feb22 printable cupcake toppers clematis and strawberries…clematis flowers and with a strawberries theme.
There are still a few more gaps in the collection to be filled, I’m also going to be working on some tutorials on different things you could make with the printables!

Monday, 4 February 2013

3 Makes With… Printable Straw Flags

2013Feb01 3 makes with printable straw flags 1Today I wanted to share 3 simple projects using just one sheet of printables and a few basic craft materials.  For these projects I’m using a sheet of straw flags with an orange / green Ball Games theme, but you could use flags on any theme you like.  The sheet has 18 flags (2 of each design) and prints on 8.5 x 11 inch or A4 paper.  I printed mine on 240gsm card, you can experiment with different papers / cards depending on what you want to use them for.  For best results remember to use your printer’s highest quality setting!
2013Feb01 3 makes with printable straw flags 21. Make a Birthday Card
This is a super easy card – great for boy’s birthdays or change the message for other occasions!  Cut out 5 different flags – 4 patterned and one with space for a message. Trim the pointed end of the one for the message but the others can be left square.  Glue the 4 patterned flags across the card at different angles (making sure the white ends will hang off the edge).  Using the edge of the card as a guide trim the excess off of the flags.  Write your message on the final flag.  Lay onto the card and mark in pencil where to cut the left side.  Trim and stick to the card with foam pads.
2013Feb01 3 makes with printable straw flags 32. Make a Gift Tag
Cut 2 flags.  Trim one end from each flag square, making one flag slightly longer than the other.  Punch a hole in each flag.  On the smaller flag write ‘To…’ and on the larger flag write ‘From…’.  Finally tie the two together with some ribbon or thread.
2013Feb01 3 makes with printable straw flags 43. Make cupcake toppers and decorate straws
These are great for themed parties!  Simply cut the flags then fold and glue around a straw to jazz up a drink or around a cocktail stick to make a cupcake topper.  The flags with space for messages can be personalised – write names on for individual drinks or cakes.

Monday, 8 October 2012

Delicious Halloween Pumpkin Cakes!

I don't usually like eating pumpkin but these pumpkin cakes are delicious and they're perfect for Halloween!  This batch was baked yesterday based on a family recipe, I've decorated them with a fun spiders web pattern and some of my Halloween printable papers.
 
To make the cake you will need:
1 cup flour
1 cup sugar
1/4 teaspoon salt
1 teaspoon cinnamon (I also add a little ground nutmeg and mixed spice)
1/2 teaspoon baking powder
2 eggs, beaten
1/2 cup oil
1/2 cup pumpkin, cooked and cooled

For the topping:
icing sugar
milk or water
orange food colouring

Heat the oven to 180C / 350F / gas mark 4
The recipe I was given says to mix all ingredients together and pour into a floured tin.  I usually mix the dry ingredients together first, then add the beaten eggs, then the oil and finally stir in the cooked pumpkin.
I find the easiest way to cook the pumpkin is to heat it in the microwave for a few minutes until soft.  If the cooked pumpkin is very wet drain some of the liquid away before adding to the cake mixture to stop the cake from being too moist.  This recipe only uses a little pumpkin - if you're not making anything else with it the spare pumpkin (raw) can be cut into cubes and stored in the freezer, ready for baking another time. 
 
Pour the mixture into a tin or individual cupcake cases and cook for 25 minutes.
When the cakes are cooled they're ready to decorate!  Make some glace icing with icing sugar and milk or water.  Take some of the icing and colour for the spider web pattern, leaving the rest white.  (I gradually added a little yellow and red colouring until the colour looked right.)
Spread white icing onto a cake then pipe orange rings onto the white icing.  Using a cocktail stick draw lines through the icing, from the centre to the edge of the cake to create the spider web effect.  It's best to decorate one cake at a time rather than ice them all in white first.
I think the cakes look great with just this iced pattern on, but to finish these ones off I have also used some of my Halloween printables.
The designs were printed onto card, then cut out by hand.  The cupcake toppers can also be cut with a 2 inch circle punch.  For the circles, sandwich a cocktail stick between two circles of card and glue together.  I also used some of my new Halloween flags - for these simply fold in half with a cocktail stick glued in the centre fold.

Tuesday, 8 May 2012

Jubilee Party!

There were quite a lot of fish on the blog last week so I thought it was time for something a bit different with some inspiration for parties celebrating the Queen's Diamond Jubilee...

Jubilee Party printable cupcake toppers, bunting and name place cards hazelfishercreations
I love the bright colours of these cupcakes :) They're really easy to make - I used this recipe to make strawberry flavoured cakes.  Half the cakes were iced in blue glace icing and half were iced in red.  I left the icing to set before piping white glace icing on top - that stopped the white from sinking into the colour underneath.

Jubilee Party hazelfishercreations
I finished off the cakes by making some toppers with my Rule Britannia printables.  I made the toppers by sandwiching a cocktail stick between two circles.  Some of the circles were hand cut with scissors and some were cut with a 2 inch scalloped circle punch.
I also made some bunting with my Rule Britannia scrapbooking paper - you can print this template and use it to make your own bunting.  Plain red, white and blue papers would look good too.


Some royal facts...
  • The Queen is the second longest serving monarch - only Victoria has reigned for longer at 63 years.
  • There have been 12 Prime Ministers over the Queen's reign.
  • The Queen has owned more than 30 corgis during her reign - she currently has 3; Monty, Willow and Holly.
  • In an average year the Queen will host more than 50,000 people at banquets, lunches, dinners, receptions and Garden Parties at Buckingham Palace.
For more facts on the Queen take a look at this website: http://www.thediamondjubilee.org


Wednesday, 2 May 2012

New Fish Printables!

I'm excited to announce my new fish themed printable products are ready for release! :D  The new range includes printables for craft projects and parties - I think they would be especially great for boys' birthday parties.  They are all my own designs made with a combination of hand drawn pen drawings and digital art - I think the hours of work have been worth it and I'm really pleased with how this set has turned out (even if I do say so myself!) :)

For anyone interested in fish, this set features illustrations of a clown fish, angel fish, regal tang, copperband butterflyfish, emperor angelfish, harlequin rasbora, black neon tetra, cardinal tetra, siamese fighting fish and guppy - 10 points to anyone who can recognise them all!

Today I am launching the first 3 products from my fish range...
A set of 10 scrapbooking papers, each is 12 inches square and the designs include a full sheet of fish, fish scale patterns, spots and stripes...
Cupcake toppers - these can be cut as squares or use a 2 inch circle punch to decorate cupcakes, make into gift tags, use on cards and more...
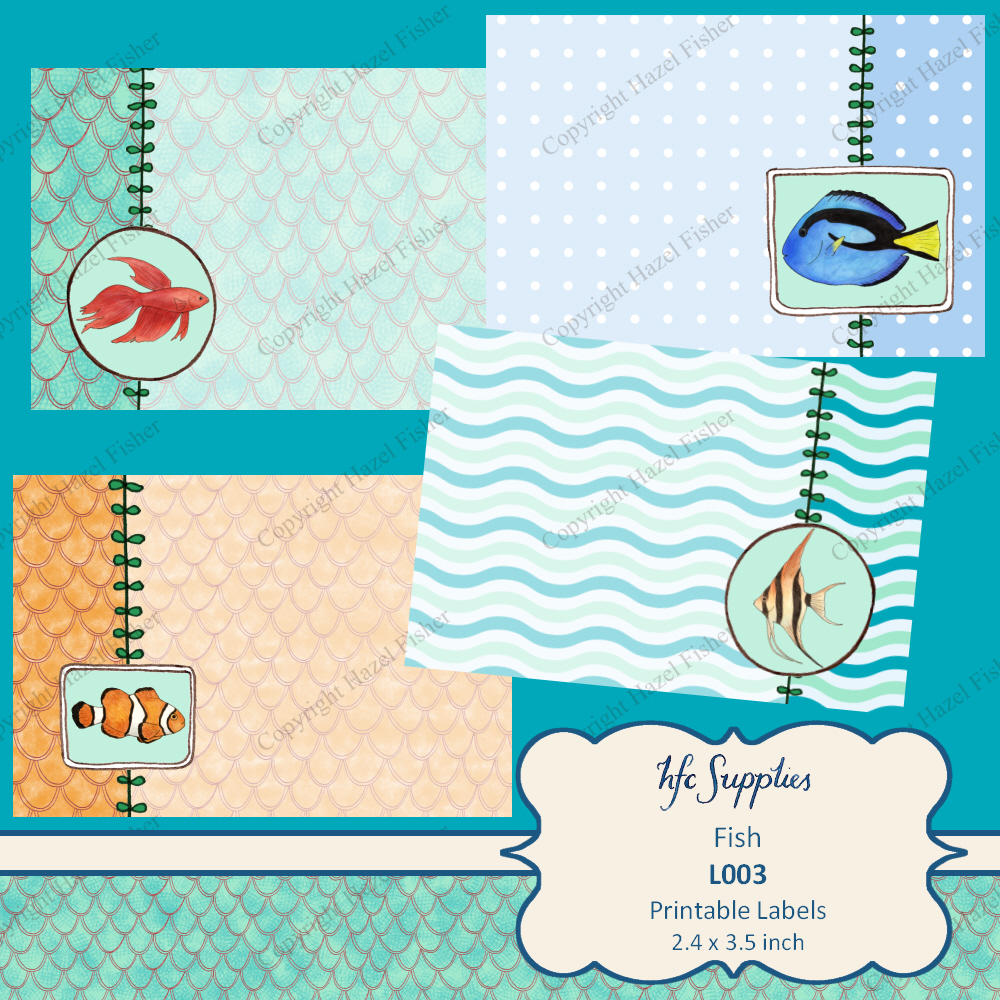
Printable labels which you could use in scrapbooks, cardmaking or as gift tags...

More products will be launched over the next few days so keep an eye out for them!

If you like these fish printables why not enter my giveaway for a chance to win any 4 printables from my shop!

Wednesday, 22 February 2012

Cupcakes and Roses – Cupcake Toppers

I’ve been torturing myself with the mouth-watering scent of cupcakes this morning :)  I can’t eat them yet though – they have to be photographed first!  I made them for the launch of my final Cupcakes and Roses product; cupcake toppers…
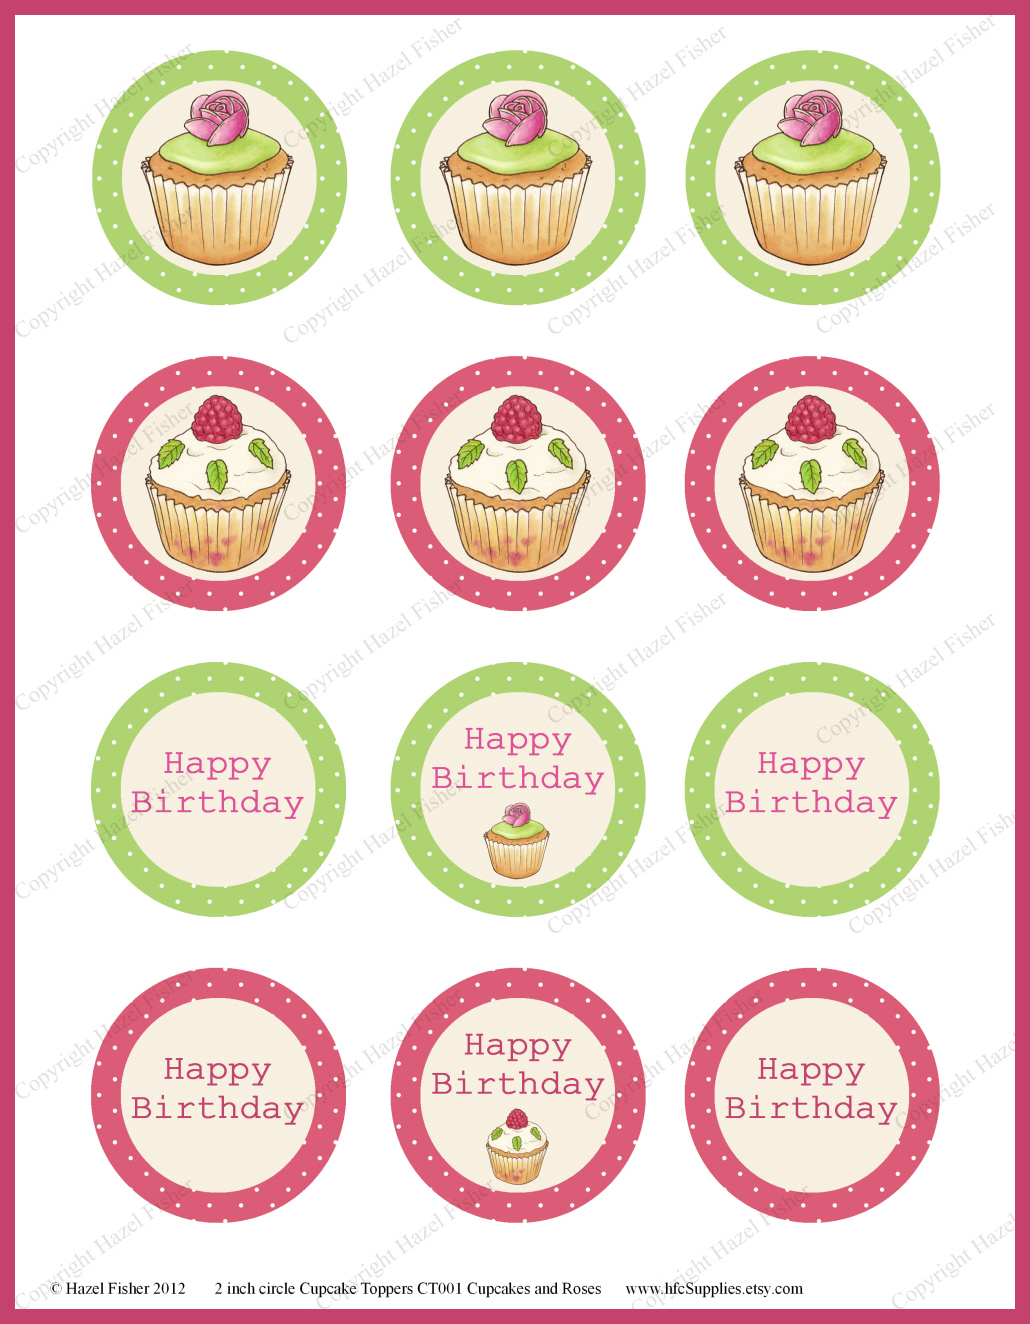
These printable cupcake toppers come as a high resolution 300dpi file for you to print and make yourself.  The sheet measures 8.5 x 11 inches (approx. A4) and each circle is a little over 2 inches in diameter, so you can either hand cut them or use a 2 inch circle punch without leaving a white border.
The toppers are perfect for making cakes look pretty quickly.  They are really simple to make – just cut two circles and glue them together with a cocktail stick in the middle!  These circles could also be made into gift tags or used in scrapbooking and cardmaking.
I used a 2 inch scalloped circle punch for the topper in the photograph on strawberry flavoured cupcakes.  If you would like to try baking some yourself here’s the recipe…

6oz soft butter
6oz caster sugar
3 eggs
6oz self-raising flour
pink food colouring
1tsp strawberry flavouring
makes 11 cupcakes
Cream the butter and sugar.  Beat in the eggs then stir in the flour.  Add the strawberry flavouring and enough pink food colouring to make the colour you like.
Spoon into 11 cupcake cases and bake at 180°C for 20 minutes – until golden and when a skewer is inserted it comes out clean.
I decorated the cakes by piping buttercream with a star nozzle.  To make the icing cream 3oz soft butter with 6oz icing sugar and add pink food colouring.
 
The printable cupcake toppers are available to buy from my Etsy shop and Folksy shop.