Showing posts with label tutorial. Show all posts

Tuesday, 16 June 2020

Art Club - How to Draw an Elephant

For this edition of Art Club we are finding inspiration at the zoo and I will be showing you how to draw an elephant.
You will only need very basic materials for this drawing; paper, pencil and a rubber. If you would like to draw along with me, please feel free to pause the video any time you like! We will be looking at ways to use simple shapes for creating a guide for our drawing before adding in all the details to complete our elephant.

I hope you enjoy this video - don't forget to check out my other Art Club videos! If you have any comments or questions please leave them in the comments section below. I would love to see your cat drawings too! If you share photos on social media tag me @hazelfishercreations (on Facebook or Instagram) or use #hfcartclub


Monday, 1 June 2020

Art Club - How To Draw A Cat

In this video for Art Club I show you how to draw a cat. You will only need very basic materials for this drawing; paper, pencil and a rubber. If you would like to draw along with me, please feel free to pause the video any time you like! We will be using simple shapes as guides for our drawing before adding in details and I also share some ideas on how to draw different types of cats, like cats with stripes or long hair. 

I hope you enjoy this video - don't forget to check out my other Art Club videos! If you have any comments or questions please leave them in the comments section below. I would love to see your cat drawings too! If you share photos on social media tag me @hazelfishercreations (on Facebook or Instagram) or use #hfcartclub


Tuesday, 12 May 2020

Art Club - How To Draw A Barn Owl

Welcome to Art Club!
With current lockdown restrictions in place the art club I have been running at a local primary school is currently on hold, so in the meantime I have decided to start up an online art club. This has the added benefit that even more people can join in! Art Club is for anyone who wants to learn about drawing and improve their art skills, whatever your age or skill level.

In our first video I will be showing you how to draw a barn owl, using simple shapes as guides to help you with your drawing before adding in details. All you need for this is a pencil and paper and if you want to draw along with me feel free to pause the video at any time.

I hope you enjoy this video - don't forget to check out my other Art Club videos! If you have any questions or comments please leave them in the comments section below. I would love to see your barn owl drawings too! If you share photos on social media tag me @hazelfishercreations (on Facebook or Instagram) or use #hfcartclub


Thursday, 6 October 2016

Free Printables for Sticky Notes: Elephant Reminder Notes

Free Printables for Sticky Notes, Elephant reminder notes by Hazel Fisher Creations. Learn how to print on sticky notesI've been working on some new planner printables for my Etsy shop and wanted to create some coordinating free printables to share with you here.  I thought some sticky note printables would be fun and picked an elephant theme for my reminder notes - as elephants never forget!! (See below for the free download link!)

This free printable sheet is designed for use with 3x3 inch sticky notes, but you can also just print the sheet on normal copy paper (or coloured paper) and cut out the notes.  It's really easy to print onto sticky notes if you follow these steps and tips...


How to Print on Sticky Notes


You will need:
  • a sheet of copy paper
  • My free printable notes sheet (see below to download it!)
  • 3x3 inch (76 x 76 mm) square sticky notes

First, print the sheet of notes onto a normal piece of copy paper.  Print the sheet at full size (don't select the option 'print to fit' in your printer's options).

Free Printables for Sticky Notes, Elephant reminder notes by Hazel Fisher Creations
Then take your sticky notes and carefully stick one down over each square on your copy paper print out.

Now print on this sheet of paper, with the sticky notes, again. Make sure you load your paper in exactly the same way round as you did before (if you don't the paper may get jammed).  Press print and this time the printer should print on your sticky notes!

Free Printables for Sticky Notes, Elephant reminder notes by Hazel Fisher CreationsYou can repeat this and print out several notes, ready for when you need to use them!

Free Printables for Sticky Notes, Elephant reminder notes by Hazel Fisher CreationsThe printable sheet I designed, with 6 different note designs on it, is Letter sized (8.5 x 11 inches) and can be printed on Letter or A4 sized paper. 
If you are printing on darker coloured sticky notes you may want to choose the darker version of the design. The light grey version works best on pastel coloured sticky notes.


** Please note: this free printable is for personal use only! You can print it as many times as you like for your own personal use, but you may not redistribute it in any form (digitally or printed) or modify it or claim it as your own.  If you would like to share these printable notes on your blog/ Pinterest etc. please include a link back to this page (not the download link). Thank you!
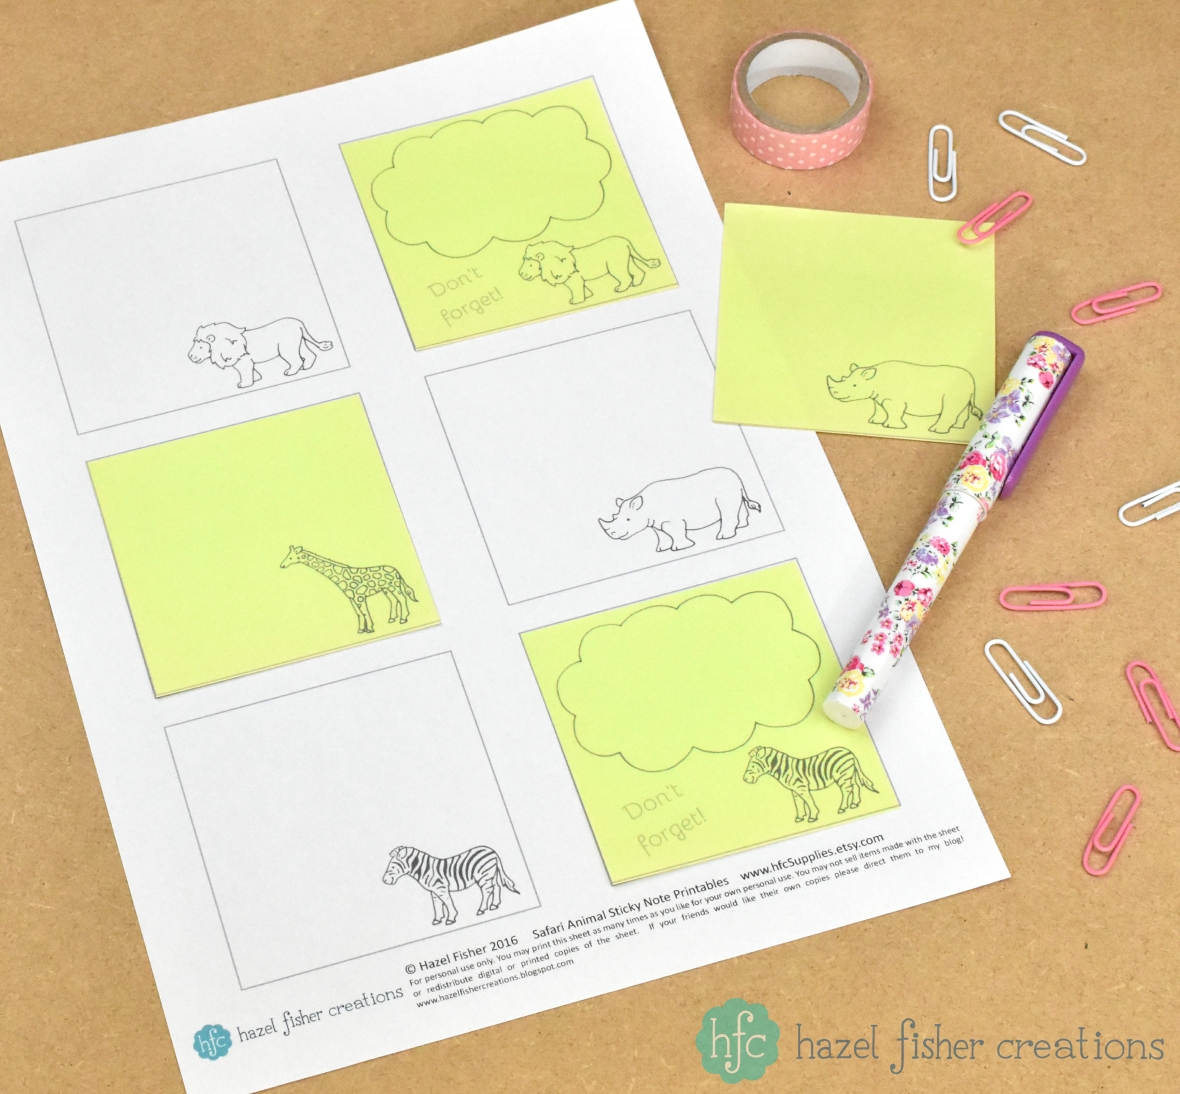
Free Printables for Sticky Notes, Elephant reminder notes by Hazel Fisher CreationsI have also designed another sheet of sticky note printables with other safari animals on - a lion, giraffe, rhino and zebra.  It is available exclusively to my email newsletter subscribers! If you would like to have access to this sheet just subscribe to my newsletter - you'll also get to hear about my new designs, receive exclusive offers and other free printables!

Free Printables for Sticky Notes, Elephant reminder notes by Hazel Fisher Creations
If you liked the free printables I created for this blog post, you may also like the new printable planner set I designed with an Elephant theme.  The full set includes 17 planner pages:

  • 1x 2017 page with the year at the top and a box for each month
  • 12x monthly pages, undated so you can use year after year
  • 1x weekly planner page
  • 1x daily planner page
  • 1x To do / Shopping list page
  • 1x Notes page

You can find this set in my Etsy shop here: Elephant Printable Planner Set

Elephant Printable Planner Set, Instant Download on Etsy hfcSupplies, designed by Hazel Fisher Creations

Wednesday, 7 September 2016

DIY Decorated Pegs and Binder Clips

Decorated peg and binder clips DIY craft tutorial by Hazel Fisher CreationsAfter decorating my pencils, I thought I would continue with the pretty stationery theme and decorate some pegs and binder clips too!  I use these all the time - to hang things on the line above my desk, organise papers and keep hold of notes.

For this project I used the following materials:
wooden clothes pegs
binder clips
washi tape
small pieces of scrapbooking papers
Mod Podge (matte)
craft knife and ruler


Decorated peg and binder clips DIY craft tutorial by Hazel Fisher CreationsA really quick way to decorate the wooden pegs is to use washi tape.  The tape is slightly wider than the pegs though and I found that it didn't stick so well down the sides of the pegs. You could either trim away the excess tape with a craft knife or use a little Mod Podge (or pva glue) to help it stick (which is what I did).

My favourite way to decorate wooden pegs though is with patterned scrapbooking paper as I think this gives a neater finish...
First measure the width of your peg and cut a strip of paper to size with a craft knife and ruler.
Next, measure and cut two pieces from your strip - for the top and bottom sections of the peg either side of the wire.
Glue these to your peg with Mod Podge and brush on a top coat of Mod Podge to seal.
Once this is dry you can repeat for the other side of the peg.
Decorated peg and binder clips DIY craft tutorial by Hazel Fisher Creations
For the binder clips I just cut pieces of washi tape to cover the backs of the clips...

Decorated peg and binder clips DIY craft tutorial by Hazel Fisher Creations
I hope that you enjoyed this project and have been inspired to decorate your own stationery!  I would love to see what you make - use #myhfcmakes when you share photos of your projects!

Tuesday, 28 June 2016

Origami Box Tutorial

Origami box tutorial, summer strawberries papercraft project Hazel Fisher CreationsThese origami boxes are fun to make and really useful too!  They're great for storing little bits and pieces from your crafty stash like washi tape, or for using as gift boxes. You can change the look of your boxes by using different coloured paper, patterned paper and by varying the size of paper.

I used some printable scrapbooking papers which I designed to make my boxes, from my Strawberries and Summer Garden sets of papers. (You can find these and more in my Etsy shop, hfcSupplies).
I printed the designs to fit on A4 white paper with a weight of 120gsm - paper this weight or slightly thinner works well for the origami boxes.

Origami box tutorial, summer strawberries papercraft project Hazel Fisher CreationsBefore you start folding your box you will need to cut squares of your paper. The paper I used was 20.4 x 20.4cm (approx. 8 x 8 inches), this produced boxes which measured approx. 7.25 x 7.25 x 3.5 cm (approx. 2.85 x 2.85 x 1.4 inches).  If you want to make a box with a lid, cut one square slightly smaller than the other.

1. Start with your paper patterned side face down. Fold the square in half to form a rectangle.  Open out and repeat in the other direction.
2. Now fold your square in half diagonally, open out and repeat in the opposite direction then open out again.
3. Fold each point into the centre, then unfold to your square again.
4. Fold each point of the square to the point three-quarters across, as in the diagram below, then open out again.
5. Now fold each point one quarter across, then once again open out to the square.
6. Now fold 2 opposite points to the centre.
7. Push the sides up to start making the 3-dimensional box shape (see diagram below).
8. Finally tuck the remaining 2 corners inside the box. Your box should keep its shape on its own, but if you like you can use a little glue to secure the triangle points to the base of the box.

Origami box tutorial, summer strawberries papercraft project Hazel Fisher CreationsNow you are ready to fill your boxes!  What will you put in yours?  Share your makes with #myhfcmakes so we can all see what you have made!

PS. If you love crafty projects and would like some free printables, check out my blog challenge here! (You could even use the free printable paper to make some of these boxes!)
Origami box tutorial, summer strawberries papercraft project Hazel Fisher Creations

Thursday, 12 May 2016

Learn how to make your own sketchbooks

Learn how to make your own sketchbooks in the DIY tutorial by Hazel Fisher Creations
How to Make You Own Sketchbook - learn this bookbinding technique to make sketchbooks, journals and notebooks! hazel fisher creations
I have been making my own little books and sketchbooks for years and there are so many different techniques to try.  Once you learn the basics you will find that you can use your creativity to make each book totally unique!  Back in January I shared a tutorial on how to make really simple matchbook notebooks and today I will show you how to make something a little more complicated, using a stitched technique - but once you get the hang of it you can use it to make your own sketchbooks, notebooks, journals and more!

You will need:
paper for the pages (I used 140gsm cartridge paper)
strong thread (I used Gutermann's extra strong polyester thread)
pencil
ruler
pin
needle
craft knife and cutting mat
greyboard
linen / cotton fabric (for the spine)
decorative paper (for the cover - I used wallpaper)
PVA glue

1. Start by cutting your paper for the pages.  Cut all pages to the same size.  My paper was approximately A3 in size - so the finished sketchbook will be A4.  But you can make books any size you like!

2. Split your paper into sections - I used 4 sheets per section, with 5 sections in total.  Fold each section in half.

How to Make You Own Sketchbook - learn this bookbinding technique to make sketchbooks, journals and notebooks! hazel fisher creations
3. Take 1 section, open it out and mark holes, for sewing along the centre fold using a pencil. Repeat this for all sections.  You need an even number of holes, spaced the same for each section - so measure carefully!  These are the measurements I used for my pencil marks: measure from one end and mark at 1 inch, 2 inches, 3.1 inches, 4.1 inches and 5.2 inches. Repeat, measuring from the other side - so there are 10 dots.

4. Use a sharp pin (or an awl if you have one) to make holes through all sheets in each section, through your pencil dots.

How to Make You Own Sketchbook - learn this bookbinding technique to make sketchbooks, journals and notebooks! hazel fisher creations
5. Tie a knot in your thread and start sewing from the outside of the section to the inside, through your first hole.

6. See image 6 for my numbered diagram of the holes - sew in this pattern: up hole 2, down hole 3, up hole 4, down hole 5, up hole 6, down hole 7, up hole 8, down hole 9 and up hole 10.
Tip! Remember to keep pulling your thread tight as you go along, for a neat finish.

7. Now start to join the second section to the first.  Go down hole 10 in the second section, up hole 9, down hole 9 of the first section, up hole 10, down hole 10 of the second section, up hole 9 then down hole 8 of the second section.

8. Continue up hole 7 in the second section, down hole 7 in the first section, up hole 8, down hole 8 in the second section, up hole 7 and down hole 6 in the second section. Continue in this pattern until the first two sections are joined together.

9. It should now look like picture 9.  It might sound complicated, but it's easier once you try it for yourself and see the pattern working.

How to Make You Own Sketchbook - learn this bookbinding technique to make sketchbooks, journals and notebooks! hazel fisher creations
10. Repeat the same stitching pattern to join section 3 to section 2 and so on, until all sections are joined together. Tie a knot in the thread to finish off.

11. The spine of your book should look like image no.11.  Make sure that any time you need to start or finish the thread, the knot is on the outside.

12. Now you're ready to make the cover.  Start by trimming the edge of your book so the pages are even.

13. Cut 2 pieces of greyboard, slightly larger than the size of your book.

How to Make You Own Sketchbook - learn this bookbinding technique to make sketchbooks, journals and notebooks! hazel fisher creations
14. Cover the greyboard in your decorative paper (I used some bargain wallpaper I bought for £1 ages ago).  Also trim a piece of fabric for the spine, slightly longer than the book and wider than the spine.  I used a scrap of cream fabric which I think is linen and works well for this.

15. Fold over the ends of the fabric, so it is now the same length as your book and the raw edges will be hidden inside.  Glue the fabric along one side at a time.  I don't glue the actual spine, but along the  edge of the page close to the spine.  Leave to dry.

16. Glue the covers to the front and back pages.  Tip! - Leave to dry under a heavy book or board.

Finally I decorated the front cover of my book with some pretty tape...
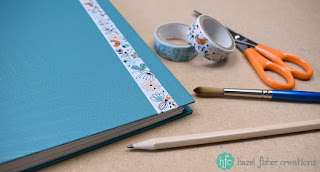
How to Make You Own Sketchbook - learn this bookbinding technique to make sketchbooks, journals and notebooks! hazel fisher creations
I hope that you enjoyed this tutorial and feel inspired to try making some books yourself.  If you share your makes on social media, use the hashtag #myhfcmakes - I would love to see them! (You can find me on Instagram and Facebook)

How to Make You Own Sketchbook - learn this bookbinding technique to make sketchbooks, journals and notebooks! hazel fisher creations

Friday, 25 March 2016

Happy Easter! Finger Print Chick Cards

Finger print Easter chick cards - hazelfishercreations
If you are looking for activities to do with your children over the long Easter weekend, why not try making some finger print chick cards.  They are so simple, but great fun for kids (big and small!) to make.  I remember doing this when I was little and writing this blog post was a good excuse to pretend to be a child again and get messy!

All you will need is:
  • some card or paper
  • yellow paint (poster paint would be great, I used some acrylic)
  • pen or pencil

Start by using your fingers to print little yellow blobs...
Finger print Easter chick cards - hazelfishercreations
When the paint is dry, use a pen (or pencil) to draw on eyes, a beak, wings and feet to create your little chicks...

Finger print Easter chick cards - hazelfishercreations
You can draw in other things like grass, flowers or a 'Happy Easter' message...

Finger print Easter chick cards - hazelfishercreations
Happy Easter everyone, whatever you are doing I hope you have a lovely weekend!

Finger print Easter chick cards - hazelfishercreations

Finger print Easter chick cards - hazelfishercreations

Tuesday, 15 December 2015

Learn How to Sew A Zippered Pouch

Rabbit zip pouch sewing tutorial hazelfishercreations
I've had the photos for this zip pouch sitting on my hard drive for a few weeks, waiting to be edited and shared.  I thought now would be a good time to share the project as it is quite a quick make and would be perfect if you're wanting to make some last minute Christmas presents!  In this tutorial I will show you how to sew this pouch with a zip and lining; it's just the right size for pens, pencils, small craft projects or make-up.  You can use the same technique though to make pouches of different sizes to fit anything you like - for example smaller ones as coin purses.

The materials I used to sew this zip pouch:
Rabbits on Kona Cotton Fabric (available from my Spoonflower store)
Green fabric for the lining
7 inch zip
Cotton thread
Rabbit zip pouch sewing tutorial hazelfishercreations
First cut your fabric to size, slightly wider than the zip and allowing a 5/8 inch seam allowance on all sides.  For my pouch I cut 2 pieces of the Rabbits fabric and 2 pieces of the green lining, each measured approx. 8 1/8 x 5 1/2 inches.


Rabbit zip pouch sewing tutorial hazelfishercreations
Lay a piece of the outer fabric face up, followed by the zip face down, then a piece of lining.
Rabbit zip pouch sewing tutorial hazelfishercreations
Pin and sew, so your piece looks like this...
Rabbit zip pouch sewing tutorial hazelfishercreations
Repeat for the other side of the zip with the second piece of outer and lining fabrics.  Open out and press your seams, then top stitch for a neat finish around the zip...

Rabbit zip pouch sewing tutorial hazelfishercreations
Now open it out so that the lining pieces are facing each other and the outer rabbit pieces are facing each other.  Make sure the zip is open (so you can turn it out the right way again!) and facing into the lining (this gives a neater finish when it is turned out the right way again).

Rabbit zip pouch sewing tutorial hazelfishercreations
Sew around the edge of the outer rabbit pieces and the lining but leave a gap in the bottom of the lining for turning out the right way.

Rabbit zip pouch sewing tutorial hazelfishercreations
Trim the seams and clip the corners, then turn out the right way.  Sew the gap in the lining closed by hand using ladder stitch...

Rabbit zip pouch sewing tutorial hazelfishercreations
Your pouch is now ready to use or give as a gift to someone else!

Rabbit zip pouch sewing tutorial hazelfishercreations

Wednesday, 28 October 2015

Halloween Cookies - Recipe and Spider Web Icing Tutorial

Halloween Cookies How to make a spider web pattern in icing hazelfishercreationsMaking spider web patterns in icing is a really effective way to decorate cookies and cakes for Halloween and they're actually very easy to do, children will love making these too!  Here is a recipe for making some simple shortbread biscuits, flavoured with cinnamon and spices as well as a tutorial on making the iced pattern...

To make the biscuits you will need:
9oz butter
2oz caster sugar
9oz plain flour
4.5oz cornflour
1 tsp mixed spice
1 tsp cinnamon

To make the shortbread, first cream the butter and sugar together in a bowl.
Sift the flours together with the mixed spice and cinnamon, then add to the butter and sugar.
Bring together the ingredients to form a dough and shape into a thick sausage.  Wrap this in cling film and chill in the fridge for at least 30 minutes (or put in the freezer for 15 minutes if you are short of time).
Divide the sausage into 16 equal slices.  Flatten and shape each slice into a circle about 3 inches (7.5cm) across.
Bake in an oven at 170°C / 325°F / Gas Mark 3 for 30-40 minutes, until light golden brown.

Leave to cool on a wire rack, then you are ready to decorate them...

Halloween Cookies How to make a spider web pattern in icing hazelfishercreationsFor the icing you need:
icing sugar
water or milk
black food colouring

Make up a batch of white glacé icing with icing sugar mixed with either some milk or water.  You want the consistency of the icing to be spreadable, but not too runny.
Make up a smaller amount of black icing by mixing black food colouring with your icing sugar and a little water.  Then put the black icing in a piping bag with a small round nozzle (if you don't have a piping bag make your own from a greaseproof paper or a small food bag with the very corner snipped off).

It is better to decorate the biscuits one at a time, as you need to make the spider web pattern before the white dries.
First, spread white icing over the biscuit, carefully spreading close to the edges.
With your piping bag, pipe 4 black circles which gradually get smaller in size towards the centre.
Using a cocktail stick, drag through the icing from the centre to the outside edge - repeat this to form the spider web pattern.  I found that 7 or 8 'spokes' looked best.
Leave to dry and they're ready to eat!

Halloween Cookies How to make a spider web pattern in icing hazelfishercreations
If you like this Halloween idea, do come and look at my blog again on Friday - I'll be sharing some more ideas of things you could make this weekend!

Thursday, 26 June 2014

Hot Air Balloon Cupcake Box DIY Tutorial

I have been wanting to design a new printable box shape for a while and after much testing, some arguments with my printer and a happy accident I have created this cupcake box!   It is slightly larger than my existing box shapes (3 inches square), so comes on more than 1 sheet but is still easy to make. 

hot air balloon cupcake box tutorial 7
This box has a hot air balloon theme, to match my latest range of printables, but I will be making cupcake boxes with other designs soon too.  There are 4 boxes featuring different balloons and colour schemes (blue, red, green and yellow), in this tutorial I will just be making the blue box but they are all made in exactly the same way…

There are 2 sheets you will need to print for the box, plus an additional sheet for an optional lid.  Each sheet can be printed on A4 or letter sized (8.5 x 11 inch) card.  For best results when printing, I recommend using your printer's highest quality setting and printing on a good quality card.  I print my boxes onto 240gsm white card…

hot air balloon cupcake box tutorial 1
Cut around the outside of box parts 1 and 2.  Then score and fold along the dashed lines (Tip – use a craft knife and ruler for straight edges, and a sheet of craft foam under the card when you’re scoring with a bone folder)

hot air balloon cupcake box tutorial 2 Glue tab ‘A’ (on box part 2) to the centre square on box part 1 (marked side A), your box should now look like this…

hot air balloon cupcake box tutorial 3Glue the remaining tabs marked with ‘glue’.  You can leave the box like this, and fill with sweets or other small gifts…

hot air balloon cupcake box tutorial 8Or if you are making it for a cupcake, make the cupcake holder to fit inside the box.  Cut around the edge of the cupcake holder and cut out the circle in the centre.  Score and fold along the dashed lines, then glue the tabs.  Your cupcake holder should look like this…

hot air balloon cupcake box tutorial 4
There is also an optional lid you can make, which is printed on a separate sheet (with 2 lids on one sheet).  Make this in exactly the same way as the cupcake holder (it is slightly larger than the cupcake holder).  Slide the lid over the top of the box.

hot air balloon cupcake box tutorial 6Alternatively you can cut away the top part of the box before sliding over the optional lid.  You could also glue a piece of acetate to the inside of the lid, so that the circle hole becomes a window and you can see inside the box.

hot air balloon cupcake box tutorial 9
A few other ideas for customising your box are mixing and matching the coloured cupcake holders and lids, using ribbon or baker’s twine around the outside of the box and adding one of the tags (which come on page 1 of the box templates).

If you would like to make your own boxes you can buy the templates for this box and other designs from my shop here: shop printable gift boxes
The baker’s twine tied around the box in the photo at the top of this post is ‘Eton Blue’ – you can buy this (and lots of other colours too!) from my shop here: shop baker's twine

I hope you like these boxes and if you make some of your own I would love to see your photos! :)