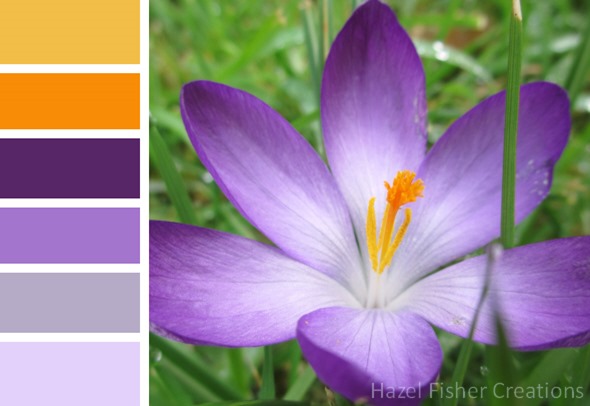
 It is officially Spring now but it’s still freezing outside – more snow is expected by the weekend! :( I can’t wait until Spring is really here – the bulbs are starting to flower so hopefully it won’t be long now. I took this bright photo of one of the purple crocuses in my garden.
Thursday 21 March 2013
Colour Inspiration #15 - Purple Crocus
 It is officially Spring now but it’s still freezing outside – more snow is expected by the weekend! :( I can’t wait until Spring is really here – the bulbs are starting to flower so hopefully it won’t be long now. I took this bright photo of one of the purple crocuses in my garden.
Wednesday 13 March 2013
How to make Birthday Bunting…
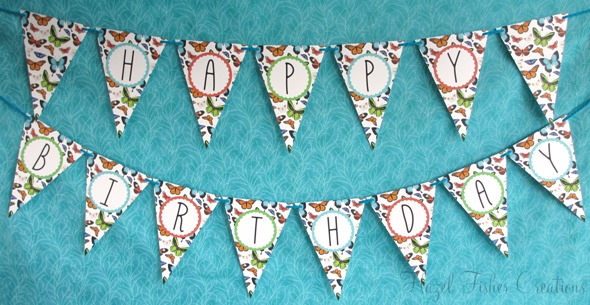 What birthday party would be complete without a birthday banner? This ‘Happy Birthday’ bunting is made from my printable butterflies themed bunting, below are some different ideas for putting the bunting together…
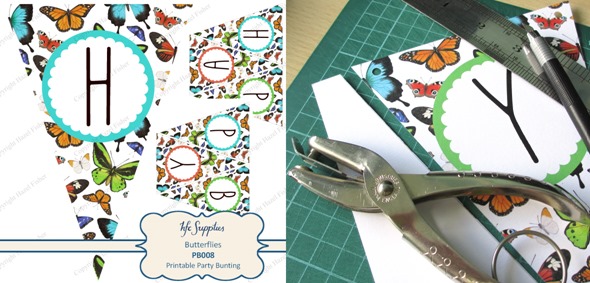 The basic bunting
The printable bunting comes as 5 sheets for you to print (I have more themes in my shop for different themed parties). Each sheet measures 8.5x11 inches (or prints on A4) and each pennant measures 5.2 x 7.6 inches. {If you would like more information on printables – what they are and how they work please take a look at my faq page here.}
When you have downloaded the bunting, print the 5 sheets onto white card using your printers highest quality setting. Using card rather than paper makes the pennants sturdier and stops them from curling. Cut the pennants out. You’re now ready to try these different ways of hanging the bunting…
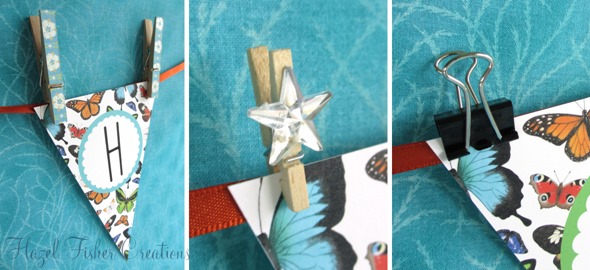 1. Peg up your pennants!
Lay out all of your pennants, equally spaced, to measure how long the banner will be. Cut some coordinating ribbon or thread to the desired length – make sure you leave enough on the ends to tie the banner up. Attach the pennants to the ribbon using pegs or clips. Try clothes pegs decorated with scrapbooking paper, mini pegs or binder clips.
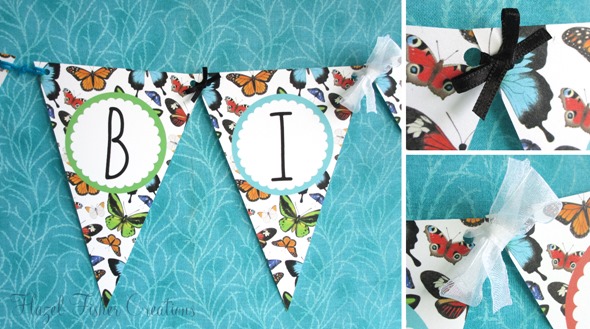 2. All tied up
Punch 2 holes in each pennant – one in each top corner. Tie pennants together with ribbon or fancy yarn – you can experiment with different textures colours and widths of ribbon.
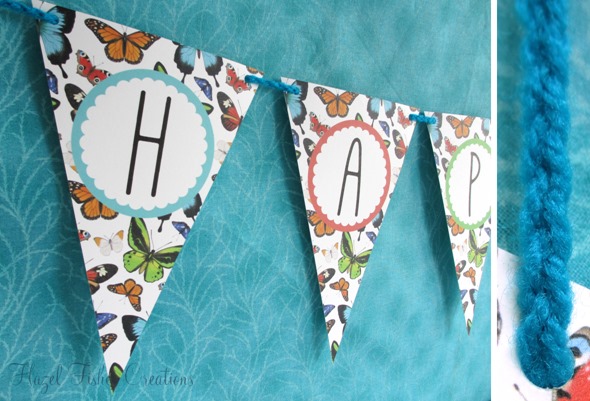 3. Thread it up
Punch 2 holes in each pennant as in the previous example. Thread the pennants together on one long ribbon or length of yarn. Lay all of your pennants out first to make sure you thread them in the right order (yes, I have got words backwards before!!). In the photo above I’ve made my own cord by crocheting yarn in chain stitch.
I hope this has inspired you to be creative with your birthday banners!
Friday 8 March 2013
I could resist Pinterest no more!
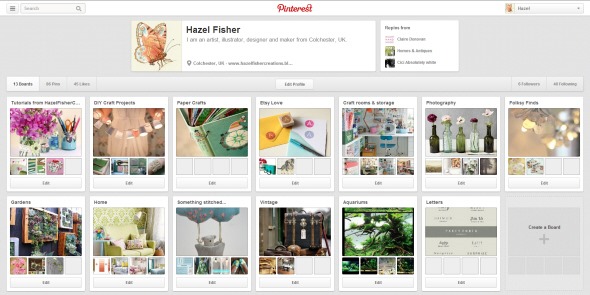 I was reluctant to join another site and have yet another password to remember and something else to spend too much time on instead of being productive. But I’ve given in and joined Pinterest! I decided that instead of being a time waster it could be useful in organising things I like and collecting inspiration. I like how visual Pinterest is – it’s much easier to see things quickly from lots of thumbnails than a list of bookmarked web addresses.
I’m only just starting to fill up my boards – here’s my page… http://pinterest.com/hazelcreations/
Are you on Pinterest too? Leave a link to your page and I’ll take a look! :)
Labels:
pinterest
Tuesday 5 March 2013
Quick Make for Mother’s Day…
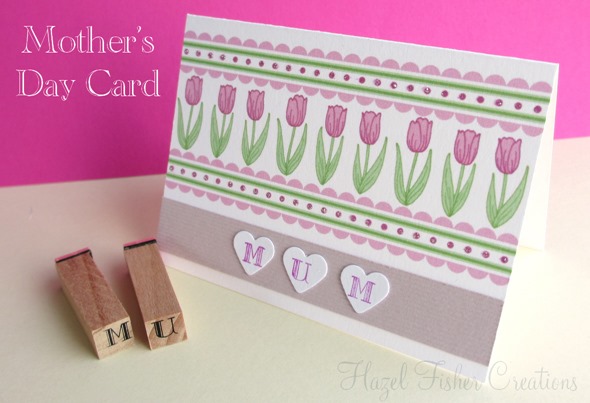 Have you remembered it’s Mother’s Day this Sunday 10th March? If you’re still looking for something to give your Mum here’s a quick project for a little card. It could be made as a card on its own or used as a gift tag – why not attach it to a bunch of flowers for a more personal gift…
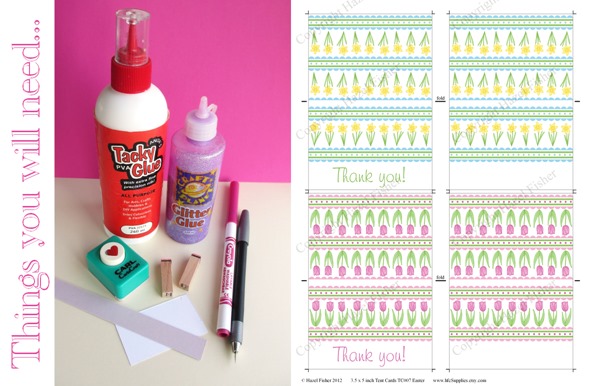 The card is made from one of the blank tulip cards on my sheet of Easter printable tent cards – the sheet also has daffodil patterned cards on it.
1. Print the sheet of cards onto white card. Cut out one of the cards and fold in half.
2. Cut a strip of coloured paper and glue along the white space on the front of the card.
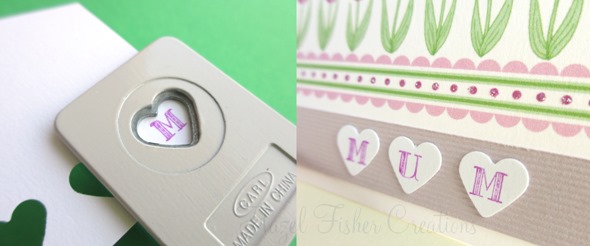
3. Stamp (or write) the letters ‘Mum’ onto white card. Use a heart shaped paper punch to cut out the letters.
4. Glue the hearts to the coloured paper strip.
5. Add some sparkle to the card with tiny dots of glitter glue on the pink spots on the card.
Subscribe to:
Posts (Atom)


