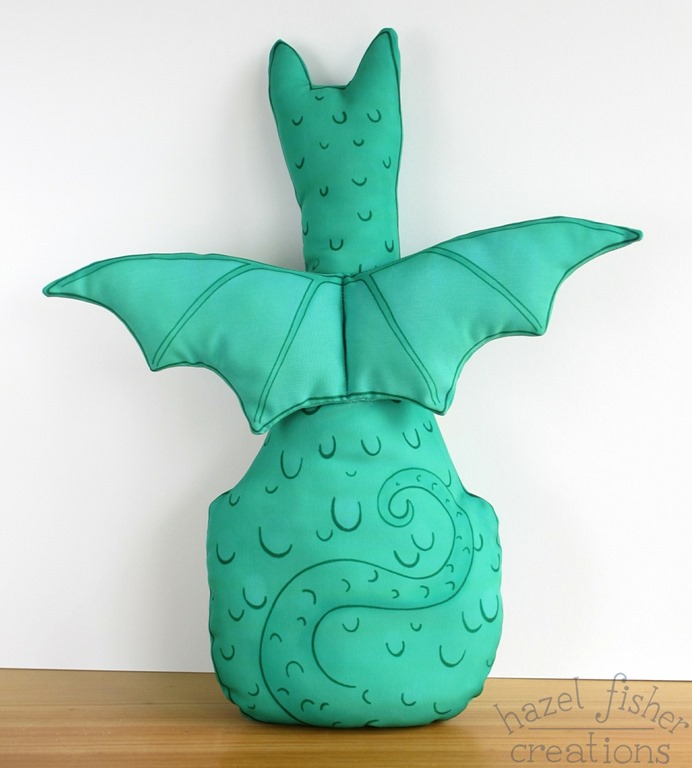
 A few weeks ago I posted a picture of the dragon I had made up from the Cut & Sew pattern I designed for Spoonflower. I finally got around to taking some more photos, so I can now share this tutorial on how to make him!
You will need the Cut & Sew Dragon pattern from my Spoonflower shop. The design fits onto a fat quarter of any fabric which is 54 inches wide (or wider). I made mine from Silky Faille, but you could also use Linen-Cotton canvas or another fabric which is at least 54 inches wide. The finished dragon will be about 15 inches tall.
- Scissors
- Needle and thread (or a sewing machine)
- Stuffing
- Fusible interfacing (optional)
- Knitting needle or similar object to help with turning out.
There are instructions printed onto the fabric, but I will include a few more tips to help you here...
1. Cut out the front and back body pieces and 2 wing pieces along the dashed lines.
2. This is an optional step – Iron fusible interfacing onto the reverse of one of the wing pieces. I did this because I made the dragon from silky faille, which is a lighter fabric than the linen-cotton canvas, to give the wings a stiffer structure.
3. With right sides together, sew with backstitch (or machine stitch) around the edge of the wings, close to the outline. Leave an opening between A and B.
4. Trim and clip seams (around the curves and points of the wings). Turn the wings out – a knitting needle or similar object will help you to gently turn out the points of the wings. Lightly stuff, then sew the gap closed with ladder stitch.
5. Sew the wings to the back body piece along the centre line (marked on the wings and the back piece.
6. Pin the dragon front and back with right sides together and the wings folded in half through the gap between C and D (see below) Sew the dragon front and back together, leaving an opening between C and D.
 7. Trim seams and clip around the ears. Turn the right way out.
8. Stuff and sew closed the opening between C and D using ladder stitch.

If you make up one of my dragons I would love to see how it turns out! You can leave a link to your photos below, or email me at hazel.illustrator@live.co.uk


Aww, too cute! A great project for all abilities x
ReplyDeleteThanks Josie! :)
Delete