Thursday 29 August 2013

FIMO pets and buttons

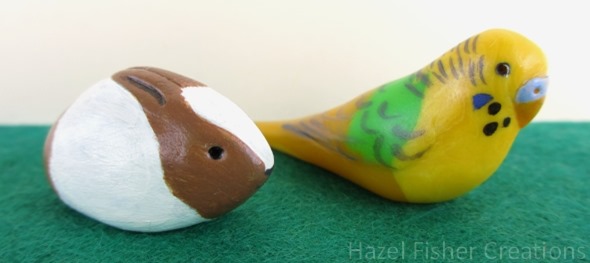
2013Aug29 Fimo rabbit and budgie 1Last weekend I made these cute little animals from Fimo.  They started as basic Fimo shapes which I painted with acrylics after baking then varnished.
I’ve had my Fimo for a very long time (I think there's still a tiny bit left from some I had when I was 8!) – some is Fimo Classic and some is Fimo Soft.  I much prefer using the soft as you can use it almost immediately but the Classic always takes me ages to soften and I end up making a mess with crumbs of Fimo falling everywhere.

The little animals I made are really small – this rabbit is just over an inch long…
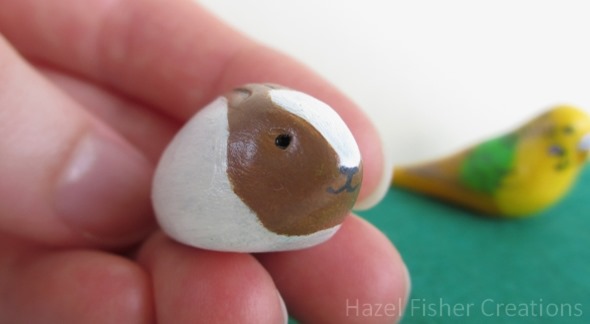
2013Aug29 Fimo rabbit and budgie 2I painted the rabbit with dutch markings – I used to have a white and grey dutch rabbit when I was small :)  Rabbits are one of my favourite animals.  I’ve been watching the BBC series The Burrowers – where they’re following the lives of rabbits, badgers and water voles in burrows specially made for the series.  Of course the rabbits are my favourite – especially the babies which are soo cute!!
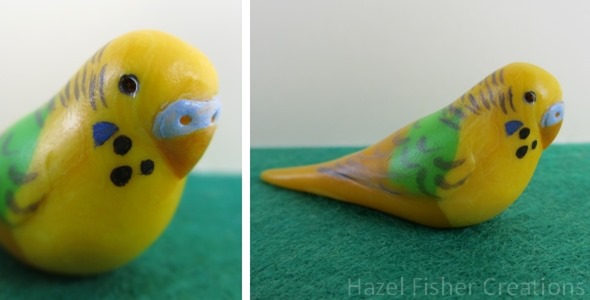
2013Aug29 Fimo rabbit and budgie 3This budgie (only about 1.75 inches long) was partly inspired by my green and yellow budgie, Bobby.  Although she was a girl and this is a boy budgie, as above his beak is blue.

While the Fimo was out I thought I may as well make a few more buttons to top up my jar…
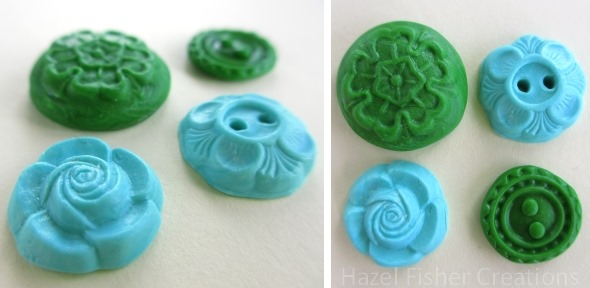
2013Aug29 Fimo buttons
I love the colour of the rose – it’s more minty coloured in real life than this photo shows.  If you want to see some of the other polymer clay buttons I made and find out a bit about how I made them, take a look at this post which I wrote a couple of years ago: http://hazelfishercreations.blogspot.co.uk/2011/05/polymer-clay-buttons.html

Monday 19 August 2013

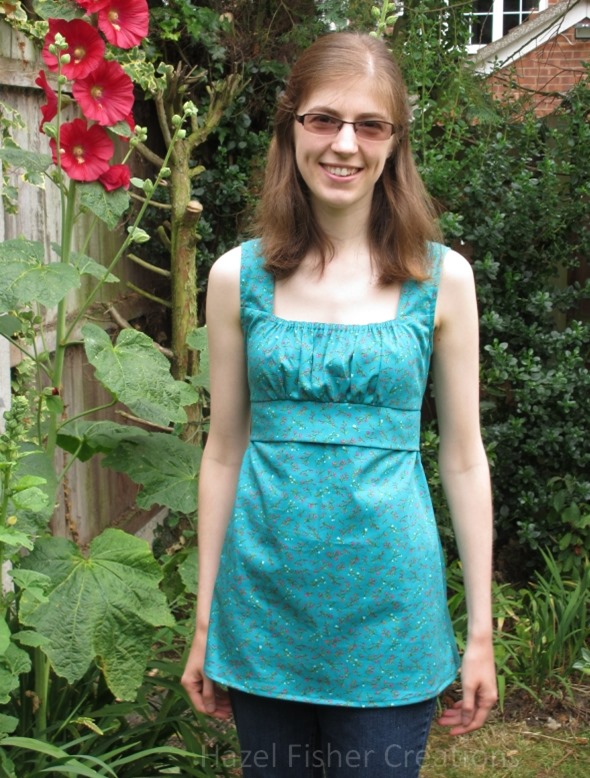
I’ve sewn my first top!

Remember my new, old sewing machine I blogged about a few months ago?  Well I’ve used it to sew my very first top!  It’s taken me a while to sew (mostly because I’m too indecisive and didn’t want to do anything wrong) but I got there in the end.
Here’s something you don’t often see on my blog – a photo with me in it!  But I thought I couldn’t really show you my top without me trying it on…

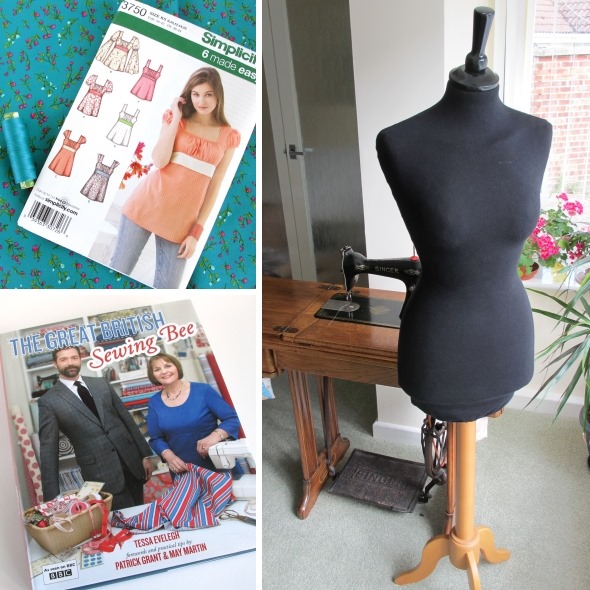
2013July22 sewing me wearing new top 1Although I’ve done quite a bit of sewing I’m only just getting into dressmaking (the Great British Sewing Bee was such an inspiration!).  Surprisingly, since I went to an all girl’s secondary school, we never had textiles lessons so anything I’ve learnt to sew is either something I’ve taught myself, been shown by my Mum or Nanna or learnt from a book or the internet.  It’s such a good feeling learning to do something new.  For this top I learnt how to do lots of new things, including how to make bias binding (it wasn’t as hard as I thought it would be!).
I bought myself The Great British Sewing Bee book – it has lots of patterns inside which I can’t wait to have a go at, although I have promised to make my sister a new handbag so I should do that first, and maybe make myself a new bag too…
2013Aug14 sewing pattern bee book dummyI’ve also recently acquired a dressmaker’s dummy – for free too!  It really made my day when a lovely lady, who was having a clear out, gave it to me.  It’s made from polystyrene, so can have things pinned to it, and is almost exactly the right size for me.  I’ve already started using it for some dresses I want to alter – much easier than trying to pin them on myself!

Friday 16 August 2013

Shop update – What’s new?

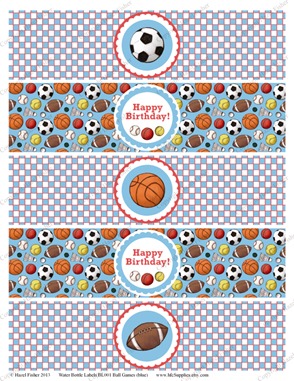
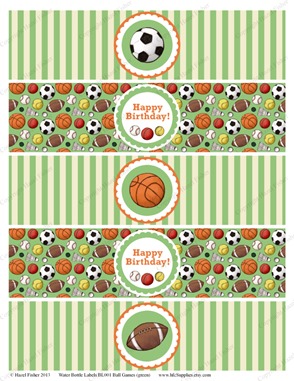
BL001 etsy 2  ball games water bottle labelsBL001 etsy 1 ball games water bottle labels
I recently had an enquiry in my shop about party printables from someone who said they used water bottle labels and welcome signs, so I thought I would start adding these to my shop.  The first theme to have these new products is ‘Ball Games’ – both the bottle labels and sign are available in a choice of two colour schemes (orange and green or blue and red).
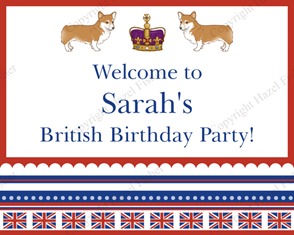
The welcome signs come ready personalised with a message of the customer’s choice.  As well as the Ball Games welcome sign I have also designed one to match with my Rule Britannia party set.

SI001 etsy 2 Ball Games printable welcome birthday party signSI002 etsy 1 rule britannia british printable party welcome sign
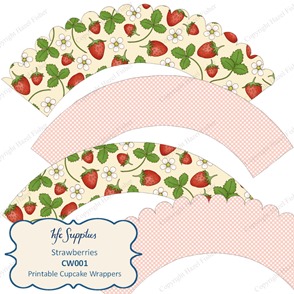
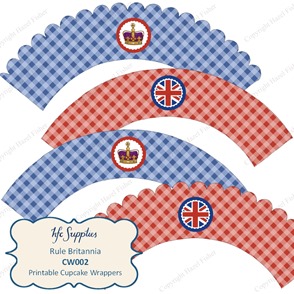
I have also started added printable cupcake wrappers to my shop – so far I have added a Strawberry themed set and a Rule Britannia themed set.

CW001 etsy 1 Strawberries cupcake wrapper pinkCW002 etsy 1 rule britannia british royal cupcake wrapper blue red
The cupcake wrappers are simple to make - just print, cut out and wrap around your cupcakes, securing the ends with double sided tape.  Each listing is for 4 wrappers - 2 with scalloped tops and 2 with plain tops (which you could cut with ordinary scissors or fancy edged scissors).

The last two new items which I am sharing today are these woodland themed printables…

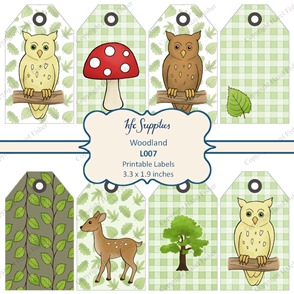
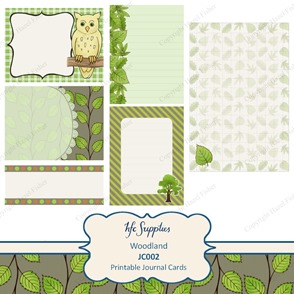
L007 etsy 1 woodland labels printable gift tags owl mushroom leaves deerJC002 Woodland journal cards printable paper owl leaf 1
There is a set of cute woodland printable labels featuring owls, deer, toadstools and more – which can be used as gift tags, in cardmaking or scrapbooking.  I have also designed a set of woodland themed printable journal cards.  The sheet contains 6 designs – 4 different 3x4 inch cards, a 4x6 inch card and a 4x1.6 inch card.  I used one of these in my recent scrapbook page layout.

I can easily make these products for the other themes in my shop too – so if you’re looking for something you can’t find in my shop please let me know.  I’d also love to hear from you if you have any suggestions for new printable products / themes you would like to see in my shop!

Wednesday 14 August 2013

My latest craft project – a dreamcatcher

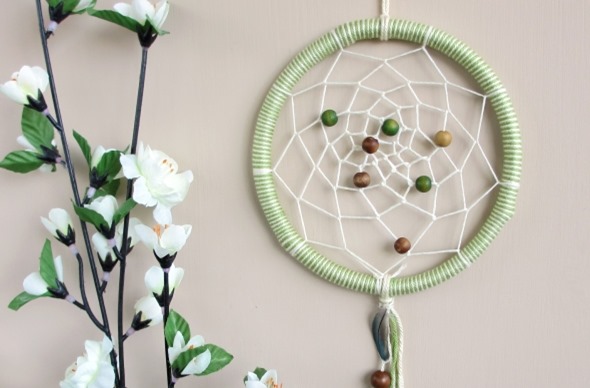
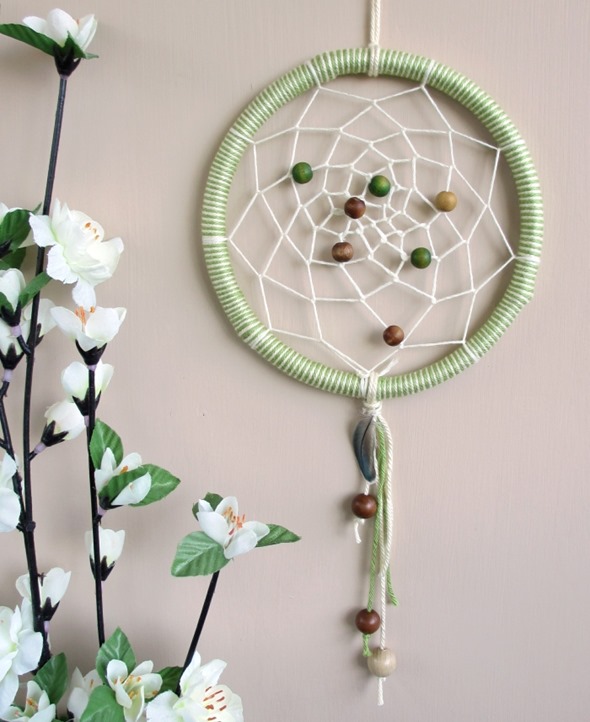
2013Aug14 dreamcatcher 2I’ve wanted to make a dreamcatcher for a while and when I saw the tutorial in the latest issue of Mollie Makes (issue thirty) I knew it was time to give it a go!  The tutorial in the magazine used bright neon colours which looked really fun but I thought I would go for a more pared-down palette with natural greens, creams and browns.
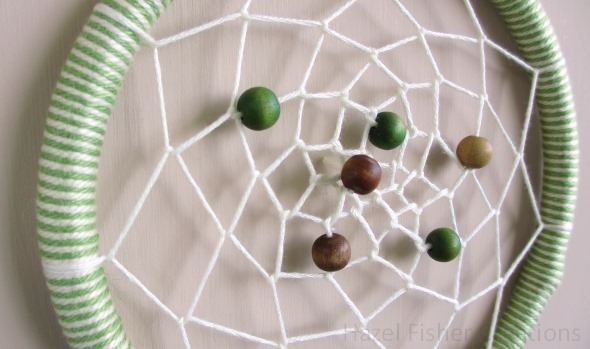
2013Aug14 dreamcatcher 3I used an old bamboo bag handle as the base ring (not sure why we only had one bag handle, maybe I’ll find the other one some time and make another dreamcatcher!)  I wrapped the ring in cream and green cotton yarn.  Then used some cream embroidery thread to weave the hoop, adding some wooden beads as I went.2013Aug14 dreamcatcher 1I finished off the dreamcatcher with some larger wooden beads hanging from the ring and a feather from my budgie, Charlie!  I’ve hung it in my bedroom now – hopefully it will catch all my bad dreams! :)