Tuesday 26 February 2013

Colour Inspiration #14 - Pear Tree Lichen

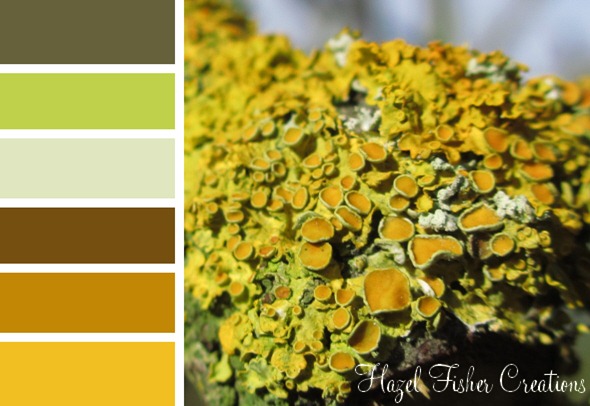
014 colour palette lichenPhotographing things in my garden a couple of weeks ago, my eye was caught by the lichen on our pear tree.  I loved the texture and bright, warm yellows and thought it would make a great colour palette.
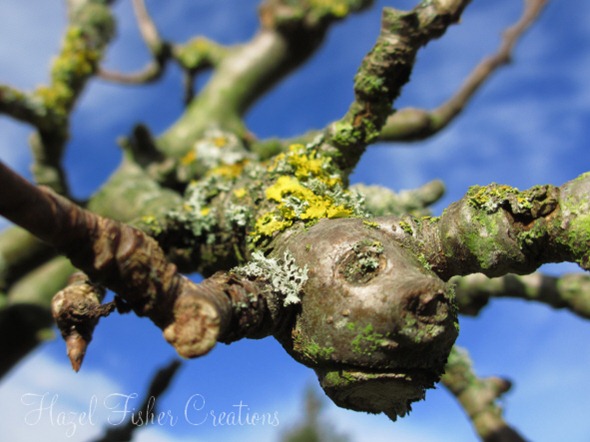
I had to share this photo too – can you spot the face in the branch?!
2013Feb25 pear tree dragon

Sunday 24 February 2013

My new old sewing machine!

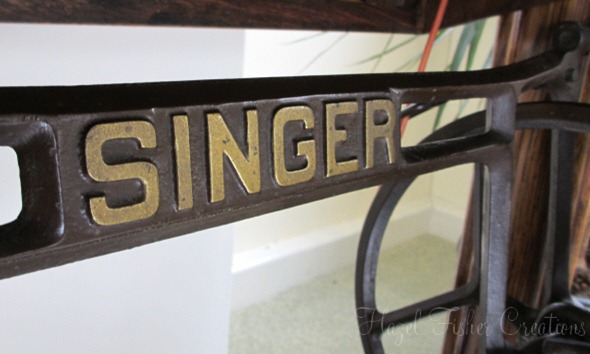
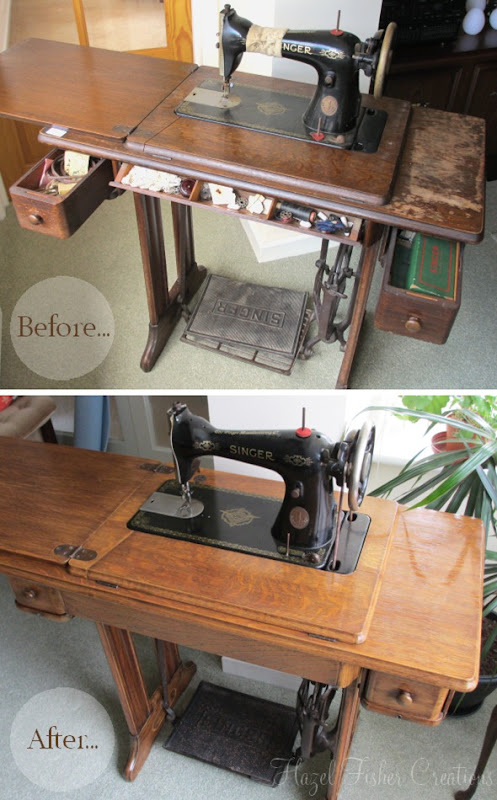
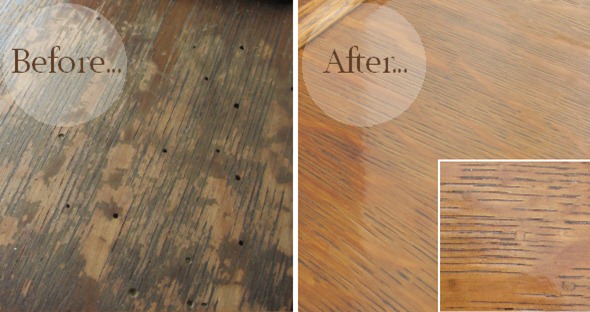
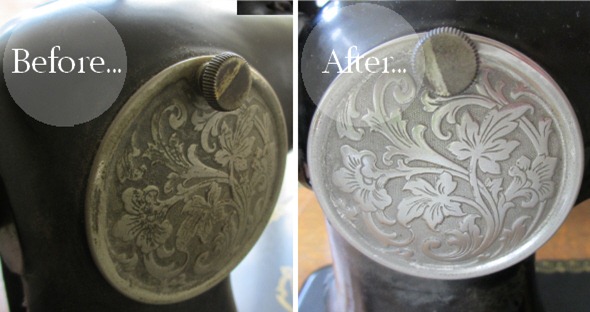
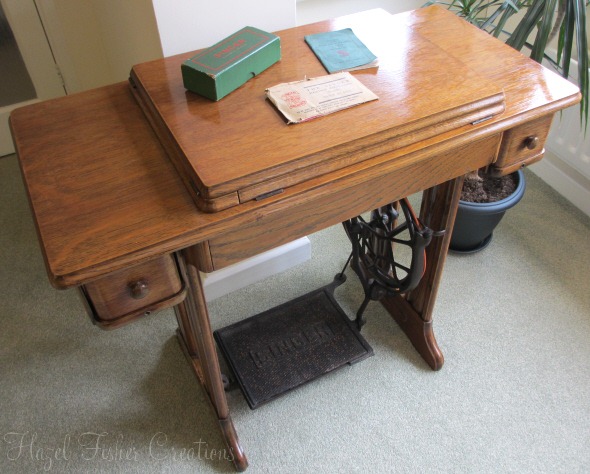
2013Feb23 singer machine underneathI’ve been wanting to blog about this for a while but have waited until it was all finished this week!  Back in August last year I bought an old Singer treadle sewing machine from my local auction.  It was a real bargain at only £10 plus commission, we knew it needed a bit of work but it wasn’t in too bad condition.  Here’s how it looked when we got it home and now that my Dad and I have finished doing it up…2013Feb23 before and after singer machine restorationI’d almost forgotten how dark the wood case was and how scruffy the top looked!  I learnt that you should look more closely at things, in good daylight, before you buy them at auction as when we got the machine outside we saw there were quite a few wood worm holes.  After sanding, filling and varnishing you would hardly know they were there!
2013Feb23 before and after singer machine restoration wood wormThe machine itself has also cleaned up really nicely.  Everything has been taken apart, cleaned, oiled and is now back together.
2013Feb23 before and after singer machine restoration metal plateThere were just two things that needed replacing – a small rubber ring for the bobbin winder and a leather belt for the treadle.  I never knew that they still made parts for treadle machines but it was easy getting them both from ebay.
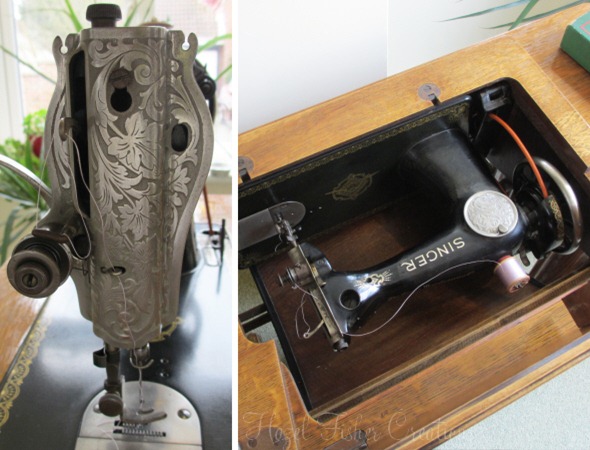
2013Feb23 singer machine folded down and end viewThe machine folds away inside…
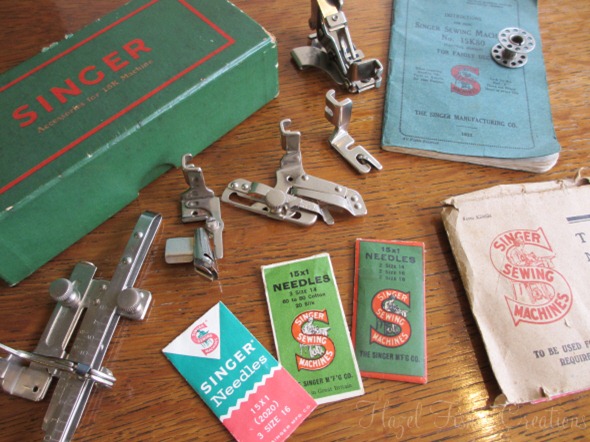
2013Feb23 singer machine closedThe machine also came with it’s original manual (dated 1932), box of accessories and spare needles.  The feet in the box look like new!
2013Feb23 singer accessoriesI’ve been having fun practising with the machine.  Treadling is quite tricky – you mustn’t treadle backwards or the thread will break so it can be hard to get going.  To make sure you treadle in the right direction you need to start winding by hand.  So long as I’m just sewing a simple straight stitch with the basic foot I’m fine, it’s when I start doing something more complicated with my hands that I forget to keep treadling.  So a bit more practise is needed!
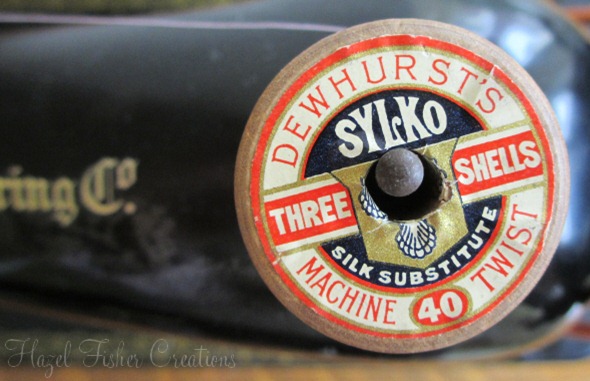
2013Feb23 singer sylko thread

Friday 22 February 2013

Filling in the gaps…

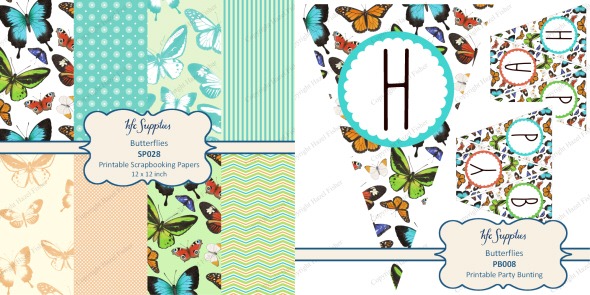
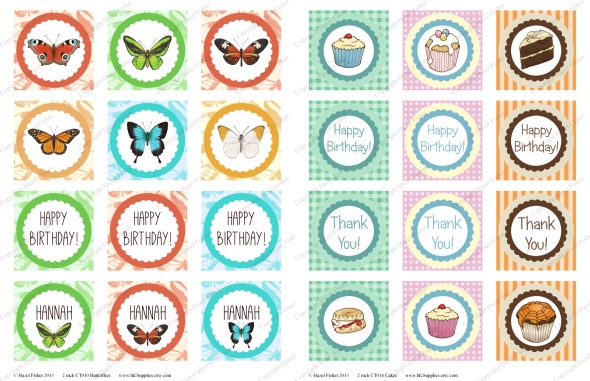
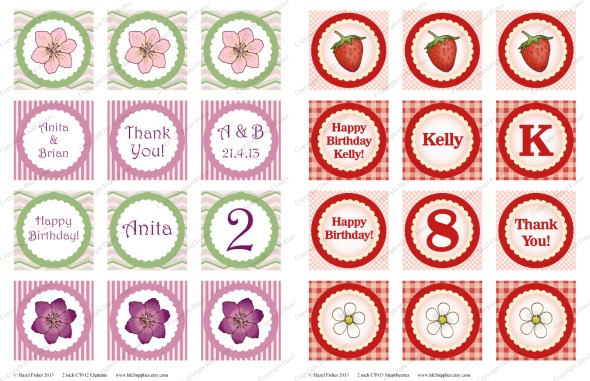
I’ve been working on filling in some of the gaps in my collection of printable designs, so have quite a lot of new things I am adding to my shop!  Here’s a quick round up – I’m still working on printables using the new Butterflies theme as well as going back to older themes and adding new products to those…2013Feb22 printable butterflies scrapbooking paper and buntingThe new butterflies theme now has a set of 12 inch printable scrapbooking papers, some ‘Happy Birthday’ bunting2013Feb22 printable cupcake toppers butterflies and cakes…and cupcake toppers customised with your own choice of text.  Going back to some of my older designs I’ve made new sets of cupcake toppers with a cakes theme…2013Feb22 printable cupcake toppers clematis and strawberriesclematis flowers and with a strawberries theme.
There are still a few more gaps in the collection to be filled, I’m also going to be working on some tutorials on different things you could make with the printables!

Saturday 16 February 2013

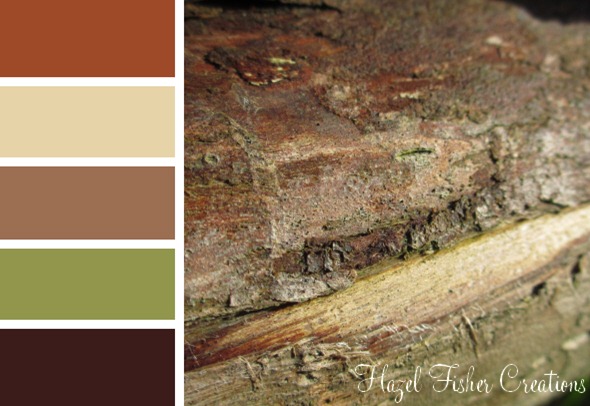
Colour Inspiration #13 - Textured Log

013 colour palette logThere aren’t a lot of pretty flowers in my garden to photograph at this time of year but I realised there are some interesting textures, like this log, to inspire colour palettes.

Tuesday 12 February 2013

Butterflies Printable Wedding Stationery

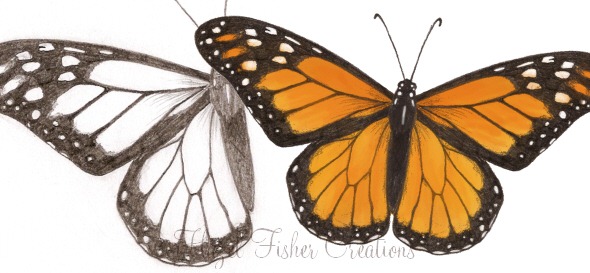
2013Feb12 butterflies designs 1I’ve been working on some butterfly themed designs and have just finished the first set of products featuring my new drawings!
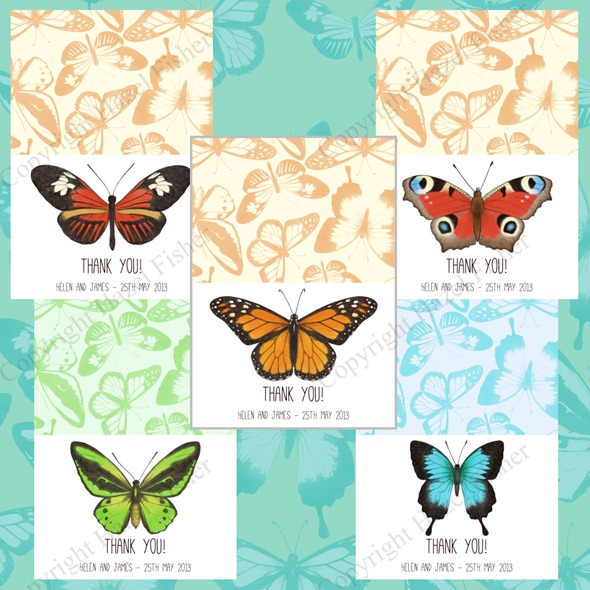
While researching butterflies to draw I found some beautiful species – I love the colour of the blue Ulysses butterfly and the patterns of the Monarch butterfly (above).  All of the butterflies were drawn in pencil first, then scanned and coloured digitally.  I’ve been using the drawings to create patterned papers as well as a variety of other printable products.  This wedding stationery set is the first of my butterfly designs to be finished and listed in my Etsy shop...
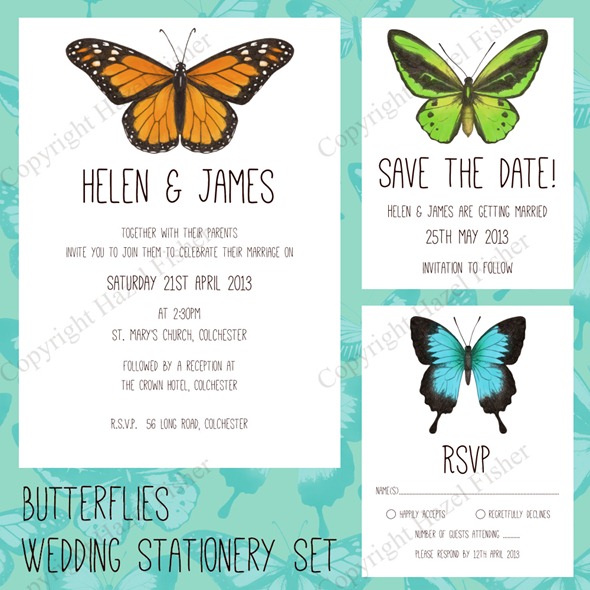
butterflies printable wedding stationery set 1The stationery set includes an invitation, save the date card, rsvp card and thank you card.  I really like the simplicity of these designs and think they would be lovely printed on textured card stock.
There are 5 different butterflies to choose from;
* Cairns Birdwing (green)
* Ulysses (blue)
* Monarch (Orange and Black)
* Postman (Red, Ochre and Black)
* Peacock ( Red with eye spots)
This set is available to buy from my shop, the invitation, save the date etc can also be bought individually.
butterflies printable wedding stationery set 3

Saturday 9 February 2013

Stitched Pen Pot

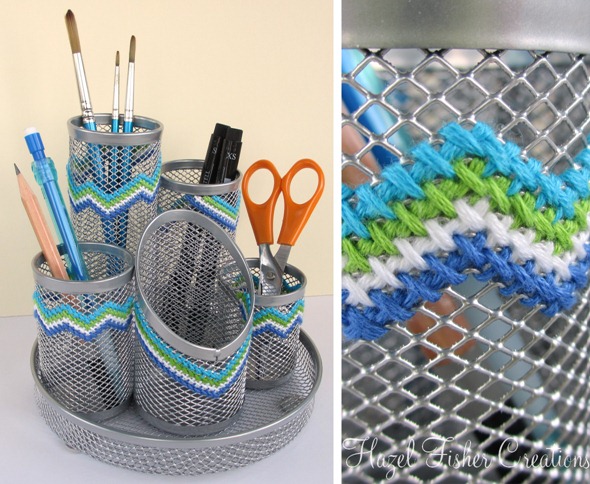
2013Feb08 cross stitch decorated pen pot 1Do you remember the stitched letter rack I did a few months ago?  I now have a pen pot to match!
I had this mesh pen pot for Christmas and have now finished stitching the cross-stitch pattern.  It took several evenings to do and was much more fiddly than the letter rack (getting the needle out of the insides of the pots was tricky even for my little fingers!).  I love how it turned out though and it’s much more fun than a plain mesh pot. :)

I haven’t painted the edges in white acrylic like I did for the letter rack – I’m feeling a bit impatient and want to start using it on my desk!  What do you think – should I paint it like the letter rack or leave it as it is?

Friday 8 February 2013

Colour Inspiration #12 - A Greyed Jade Collection

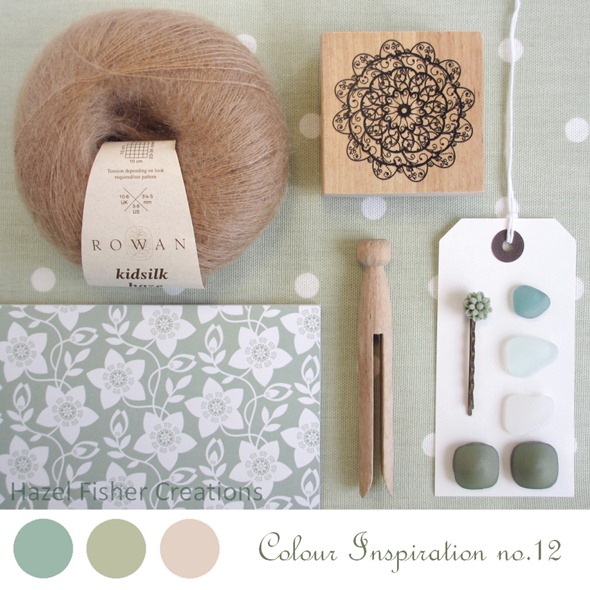
012  colour paletttte greyedjade collectionI thought I would experiment with something a little different for this colour palette.  Instead of taking the palette from a photograph I went on a hunt around my house for objects to photograph as a collection.  I started with the bits of sea glass and was thinking of doing a blue/ green theme but it turned into this instead!  The colours I chose reminded me of the greyed jade in Pantone’s Fashion colour report for Spring 2013.

Thursday 7 February 2013

3 New Hexley Postcards!

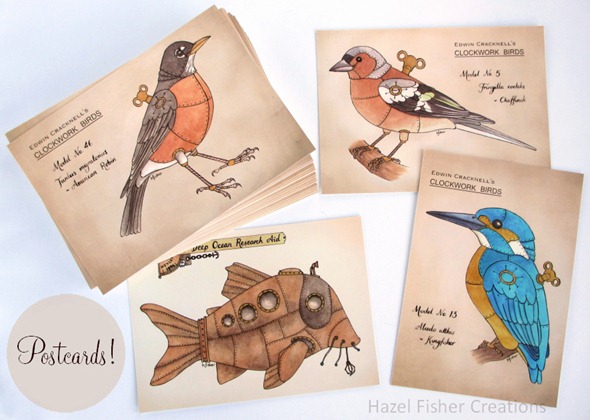
2013Jan31 moo postcards2The sets of Clockwork Bird postcards have been so popular that I was getting low on some of the birds.  Since I needed to restock I thought it was a good time to get some new designs made into postcards too – so I now have 3 new postcards; the Clockwork Kingfisher, Clockwork Chaffinch and DORA (Deep Ocean Research Aid).
I updated my illustration of DORA for these cards – it now has a new background to match my Clockwork Birds and the border has been removed which makes it easier to print in different formats.
The new designs should be in my Etsy and Folksy shops very soon!

Monday 4 February 2013

3 Makes With… Printable Straw Flags

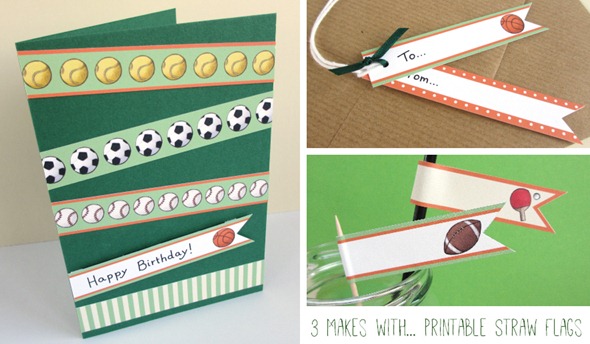
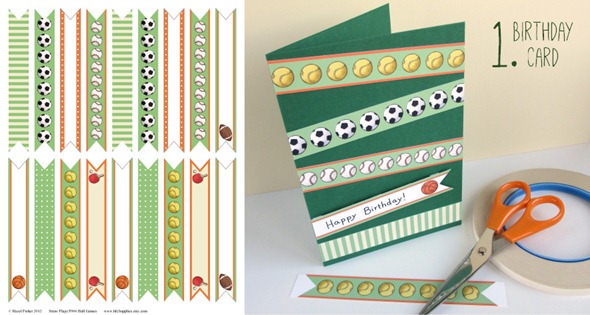
2013Feb01 3 makes with printable straw flags 1Today I wanted to share 3 simple projects using just one sheet of printables and a few basic craft materials.  For these projects I’m using a sheet of straw flags with an orange / green Ball Games theme, but you could use flags on any theme you like.  The sheet has 18 flags (2 of each design) and prints on 8.5 x 11 inch or A4 paper.  I printed mine on 240gsm card, you can experiment with different papers / cards depending on what you want to use them for.  For best results remember to use your printer’s highest quality setting!
2013Feb01 3 makes with printable straw flags 21. Make a Birthday Card
This is a super easy card – great for boy’s birthdays or change the message for other occasions!  Cut out 5 different flags – 4 patterned and one with space for a message. Trim the pointed end of the one for the message but the others can be left square.  Glue the 4 patterned flags across the card at different angles (making sure the white ends will hang off the edge).  Using the edge of the card as a guide trim the excess off of the flags.  Write your message on the final flag.  Lay onto the card and mark in pencil where to cut the left side.  Trim and stick to the card with foam pads.
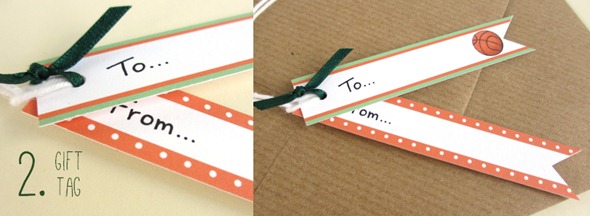
2013Feb01 3 makes with printable straw flags 32. Make a Gift Tag
Cut 2 flags.  Trim one end from each flag square, making one flag slightly longer than the other.  Punch a hole in each flag.  On the smaller flag write ‘To…’ and on the larger flag write ‘From…’.  Finally tie the two together with some ribbon or thread.
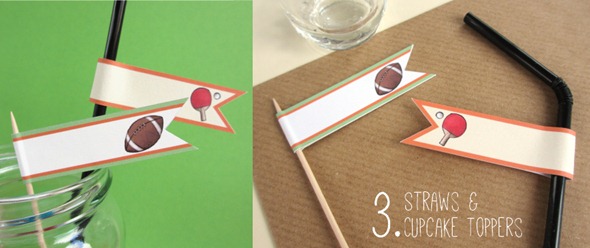
2013Feb01 3 makes with printable straw flags 43. Make cupcake toppers and decorate straws
These are great for themed parties!  Simply cut the flags then fold and glue around a straw to jazz up a drink or around a cocktail stick to make a cupcake topper.  The flags with space for messages can be personalised – write names on for individual drinks or cakes.